
Construction decision guide
Underwear Seam Construction: What OEM Buyers Should Specify
Translate fit, stretch and durability goals into clear seam decisions for the pouch, body, waistband and leg opening—before sample approval.
Decisions this guide helps you control
Comfort, stretch, bulk, appearance and recovery must be considered together.
Pouch, side, back, waistband and leg opening can require different solutions.
Approved samples, seam photos and stitch notes keep bulk production aligned.
In this guide
Seam construction changes how underwear feels, stretches, recovers and presents at retail. A tech pack that says only “use flatlock” or “standard sewing” leaves too many decisions open. The buyer should identify what each seam must achieve and where appearance, bulk, elasticity or skin contact matters most.
1. Start with a seam map
Mark every joining and finishing area on a technical drawing: front pouch, gusset, side seam, back seam, crotch, waistband attachment and leg opening. For each location, state the approved seam appearance on the face and inside of the garment.
| Seam area | Questions to resolve |
|---|---|
| Pouch and front panels | Support, curve, lining, skin contact and visual symmetry. |
| Side and back | Profile, stretch, bulk and pattern alignment. |
| Waistband attachment | Elastic recovery, seam security, label position and comfort. |
| Leg opening | Extension, recovery, edge appearance and pressure. |
A reference garment is useful only when the team knows which details to copy and which to modify. Photograph the inside and outside rather than relying on a category name.
2. Where flatlock can work
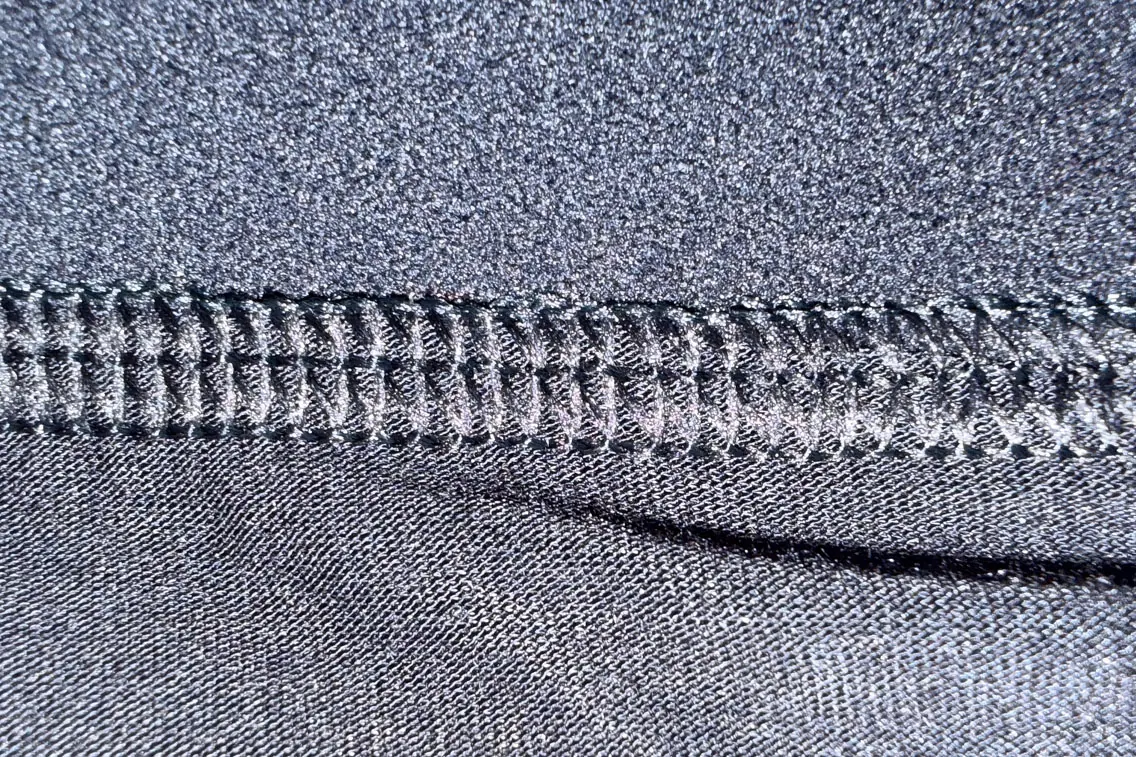
Flatlock construction can create a low-profile seam and a technical visual language. It may suit performance underwear, base layers and designs where reduced seam bulk is important. It is not automatically the best choice for every style.
Review before specifying flatlock
- Fabric stretch and recovery
- Thread coverage and seam extension
- Required seam profile
- Appearance on both garment faces
- Operator consistency on curves
- Relationship to the intended retail price position
The correct sample should be reviewed in the intended fabric, thread and seam location.
3. Separate overlock and coverstitch functions
Overlock commonly joins and secures cut edges. Coverstitch is frequently used for hems, bindings and elasticized edges. A garment can use both, but their settings, seam allowance, thread and visual result must be matched to the fabric.
Often used for joining panels where stretch and edge security are needed. Review seam bulk and the feel of the finished allowance.
Often used to finish stretch hems and bindings. Review extension, recovery, tunneling and edge stability.
Stitch terminology alone is not an approval standard. The approved sample and close-up construction reference should control the result.
4. Control pouch construction as a system
The pouch is a three-dimensional area made by pattern shape, panel count, curve, lining, seam position and material behavior. A seam that is acceptable on a side panel may feel or perform differently at the center front.
- Identify whether the pouch is single- or double-layer.
- Show panel and lining orientation.
- Mark seam direction and allowance.
- Define any functional opening or access.
- Review bulk where multiple seams intersect.
Connect pouch construction to fit approval. Sunin’s pouch design guide explains why volume and support cannot be judged from one flat width.
5. Review back and side seams against the pattern
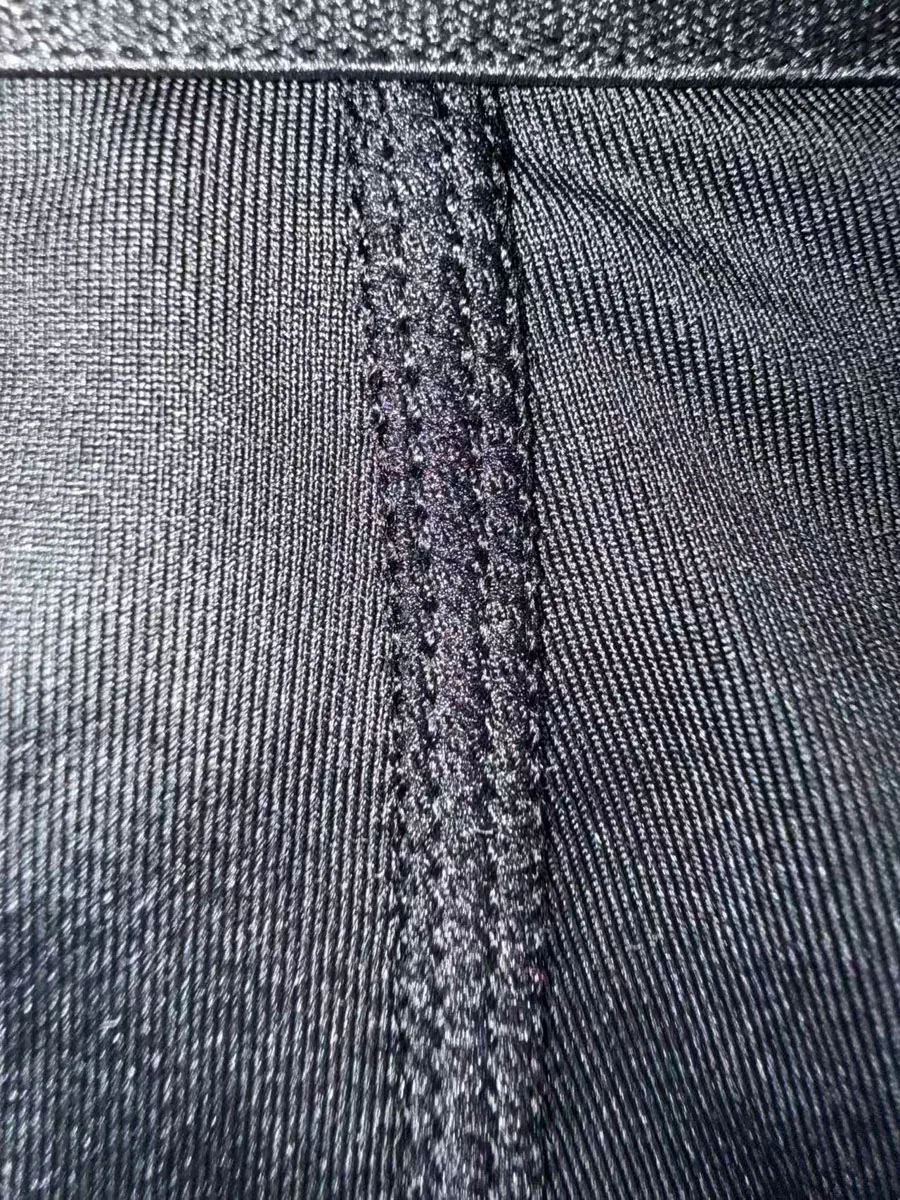
A center-back seam can help create shape, while a seamless back panel can deliver a cleaner appearance. Side seams may support panel engineering or branding, but they also create another join against the body.
There is no universal best option. Decide according to fit direction, panel layout, print placement, material width and the desired silhouette. Check stripe, rib or print alignment where applicable.
6. Specify waistband attachment
Define whether the waistband is exposed elastic, fabric-covered elastic or another approved construction. Record the seam type, join position, logo orientation, tension standard and label relationship.
The waistband and body fabric should be tested together. The attachment seam must stretch with the waist opening without excessive bulk, skipped stitches or a wavy body edge. See the custom waistband guide for logo repeat and stretch-review controls.
7. Define the leg-opening finish
Leg openings influence ride-up, pressure, appearance and recovery. Options can include folded hems, coverstitched edges, bindings or elasticized finishes. The design decision must work with the pattern circumference and the selected fabric.
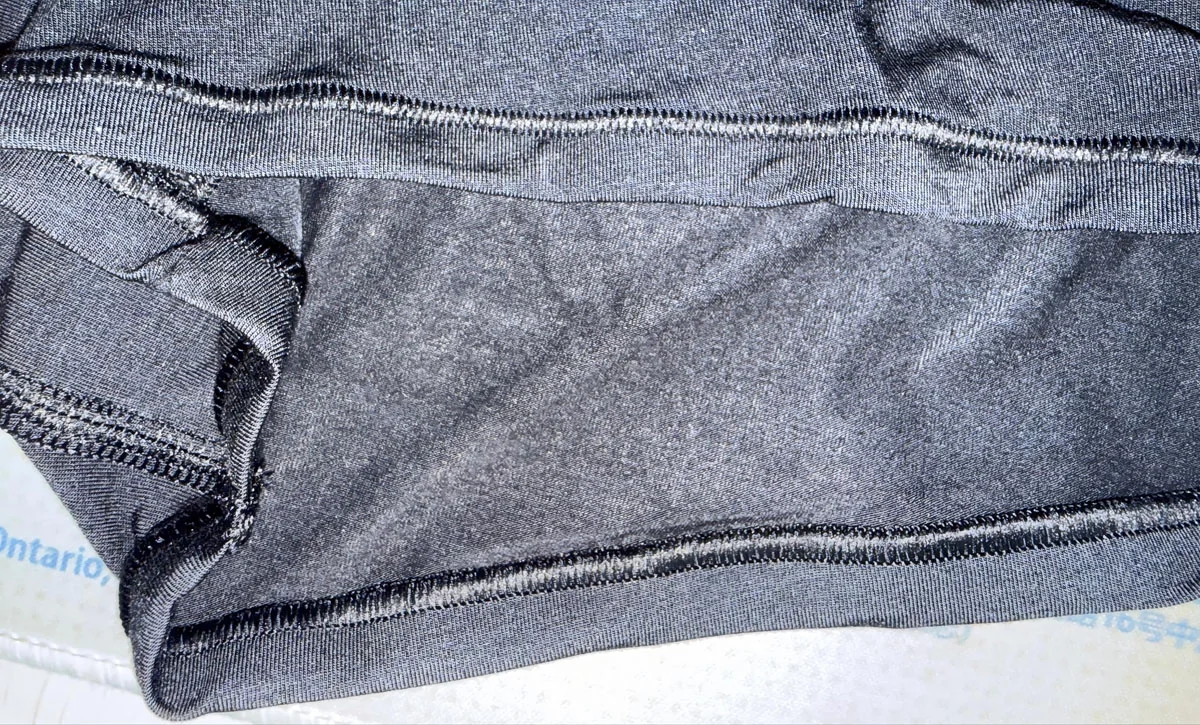
Approve the finished edge after wear and recovery review. A clean flat measurement does not always predict behavior on the body.
8. Build measurable seam QC checks
Replace vague instructions such as “good quality” with observable acceptance criteria and an agreed inspection method.
- No skipped or broken stitches
- No open seams or raw exposed edges outside the approved design
- Consistent seam width and stitch appearance
- Secure starts, ends and joins
- No unintended puckering, tunneling or twisting
- Required extension and recovery at stretch areas
- Thread color and face-side appearance match the approval
Where numeric tolerances or tests are needed, agree the exact method and threshold for the project instead of assuming a generic value.
9. Lock the approved construction before bulk
The approved package should combine the current tech pack, seam map, close-up photos, material reference, sample comments and revision number. If a later change affects pattern, material, stitch or attachment, record it as a new controlled version.
For a fully customized project, normal bulk production is typically planned at approximately 60 calendar days after final specifications, materials and documentation, deposit, approvals and scheduling are complete. Peak periods may require approximately 60–75 days, subject to actual workload and complexity. This production timing excludes international transport and customer receipt.
Use the men’s underwear tech pack guide and manufacturing process guide to connect construction decisions to production control.
Frequently asked questions
Is flatlock always the best seam for men’s underwear?
No. It can reduce profile and support a technical look, but the right choice depends on fabric, seam location, stretch, comfort, appearance and cost direction.
What seam details should a tech pack include?
Show seam location, approved stitch or construction, allowance, thread and color direction, face and inside appearance, and any required test or tolerance.
Why does pouch seam construction need special review?
The pouch combines curve, volume, lining, support and skin contact. Pattern and seam decisions must be reviewed together on a physical sample.
How should waistband attachment be approved?
Review the elastic and body fabric together, including tension, logo orientation, join, labels, stretch and finished appearance.
What controls bulk consistency?
A current tech pack, construction reference, approved sample, close-up seam evidence, revision control and measurable QC criteria.
Specify every seam before it becomes a bulk-production assumption.
Send your garment drawing, fabric direction and reference construction so the critical seam decisions can be reviewed before sampling.